
Showing posts with label sunset. Show all posts
Showing posts with label sunset. Show all posts
Thursday, October 14, 2021


Sunday, March 29, 2020
Colour #photoassignment Finding Orange in the Sunset

Friday, September 01, 2017
Sunday, August 27, 2017

Tuesday, August 08, 2017
Wednesday, July 26, 2017
A Photo Worth Taking

Sometimes there will be beautiful light and you don't have you camera, but you will have your phone. This was taken with my new HTC Uplay smartphone and its basic camera app in panorama mode. I’m certainly rethinking the need to carry a second camera body in my travels.
Friday, July 14, 2017

Saturday, July 08, 2017
Friday, January 20, 2017
A Pleasant Surprise
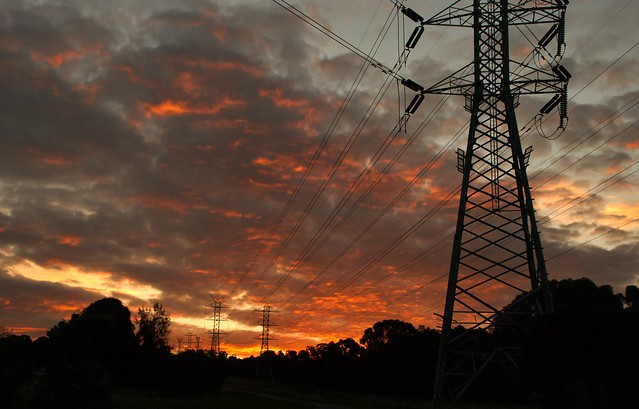
 I was out taking some photos of hay bales across the road (in HDR) but the sun was getting a bit low, so I walked up onto the levee and took a series of Bracketed photos that encompassed a wide panorama out towards the river mouth. I didn't bother processing the HDR that night because I was more interested in the hay bales (wrongly). When I finally got around to creating the HDR series I was taken with the delicacies of the low angle light.
Sunday, January 15, 2017
Right Place, Right Time
I had parked beside the Oakliegh Football ground on my way to a show at the Caravan Club, “Feelin’ Groovy” The Simon & Garfunkel Project (its a Jazz Influenced band with two female singets, playing the folk/rock and harmonies of Simon & Garfunkle, and it really works. There is a another performance coming up at the National Theatre.) Anyway I have digressed I was a little late but as I looked up I saw the last rays fo sunlight break through the clouds and climb into the sky. I had to turn back and get my camera and take a bracketed set of photos to make this HDR image. There are times when You need to realize you are at the right place, right time.

By coincidence the theme the week on Photo Friday is silence. (The Sounds of Silence)
Monday, July 18, 2016
PhotoProject :: Dynamic Range & capturing what you saw

As I waited for the sunset, I watched a cruise ship on its way north along the inland passage. 


There are better ways, 
The second well established method is HDR (which stands for High Dynamic Range).
They is an alternative, rather than choose a default tonemapping 
So there are several ways to expand the dynamic range to better match what you saw, only you must take care not to overdo it. I’ll let you choose which are over baked.
Wednesday, June 29, 2016
PhotoProject :: Studio Sunset in HDR

I took some time out from shifting and reorganizing stuff in my studio to take a few photos of the sunset in HDR, all based on three 1EV Bracket steps (-1EV,0EV,+1EV) and using HDR merge in Aftershot Pro.


Sunday, May 29, 2016


Thursday, May 12, 2016
Fire in the sky
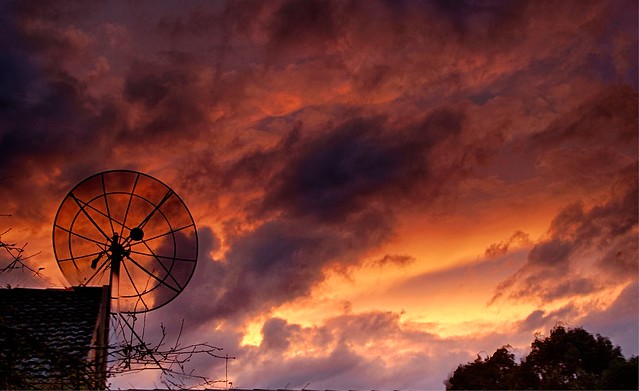
Tonight’s sunset was spectacular, for a few minutes at least, as the clouds parted and then closed over again. I was keen to get a few more bracketed EV photo sets to test out the three options for making HDR images I currently have on the silver spectre (my new laptop).


My new toy, is the HDR merge within Aftershot Pro 2, which tries to take over all the steps, and can lead to those over the top surreal images. However by being a little constrained it can do a realistic albeit snappier results and optionally align features. It can also work directly from the RAW files and can store 16 bit tiff files, to give gorgeous results without a lot of tone mapping required.
 The really new kid on the block is Nik’s HDR Efex Pro 2, which is currently free to download thanks to google loosing interest in it. I haven’t had much of a chance to play with it but It can be used as an add in from Ligthroom and now OnOne 10.5 (although I can not figure out how to do the merge direct from Onone 10 browse. I can get the merge, alignment, deghosting and defringing done in one set as a special export from lightroom. the raw HDR file actually looks pretty good, ie natural but maybe a little contrasty & dark. It has a number of tone mapping presets to finish the image.
| Picturenaut | Aftershot Pro 2 HDR | NIK HDR Efex Pro 2 |
 |  |  |
 |  |  |
So which image have I chosen as my Daily Photo?
You need to go the flickr to see.
Thursday, May 05, 2016

Friday, April 15, 2016

Tuesday, March 22, 2016
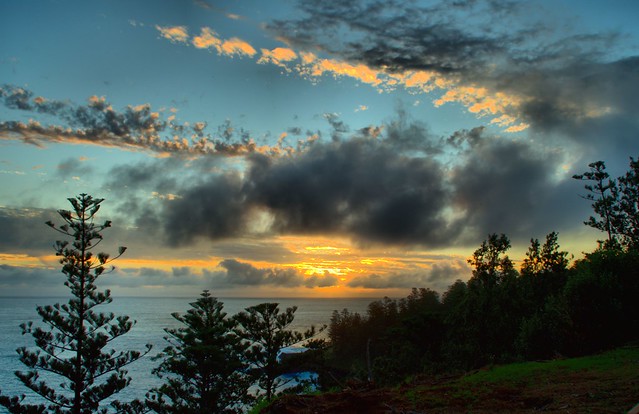
Friday, March 11, 2016


Saturday, November 28, 2015
Updating OnOne & having fun
Towards Sunset

After Sunset

Monday, October 26, 2015
PhotoProject :: One Image Three Ways
Sometimes it is worth taking one image and processing it in a variety of ways. Yesterday sunset was very memorable. Here I firstly have a Raw image processed in Lightroom (just of tone & colour balance). Next is a bracketted set made into a tonemapped HDR using Aftershot Pro, Finally I have used a Dreamscope filter.


Subscribe to:
Posts (Atom)