My disdain for workshop or trainers that just teach their “work flow” as the ultimate (perhaps only) way to use software and carry out various photographic or artistic tasks is continuing to grow. Such attitudes are a guarantee to remove originality, innovation and individual expression. Those that religiously follow the “work flow” rules end up producing much the same work over and over again and whilst it can be good, even excellent it is soon an avalanche of sameness, blunting our interest. If you don’t believe take a look at someone scanning their social media. they thumbs or fingers are barely allow more that 2 second to view any image. Swipe. swipe, swipe….
I favour a lightly slow more honest evaluation of the tools, workspace and characteristics of the material. You still need some instruction in the basics but ability comes more quickly if you just play with the media and tools. Its not unlike many of the early craft guilds (which included painters, or newspapers in the old days when they had staff photographers). Here you where probably apprenticed to a master and they expected you to grind the pigments, mix the inks, wash the brushes and even sweep out the work shop. You got to handle all the media and saw how it was used and eventually you where guided into doing it yourself. Some apprentices adhered to the methods of their master but fortunately for us enough students experiments and expanded on what they had learnt and their masters where wise enough to encourage them. I believe the same approach needs to apply in using the modern tools or art and photography. The masters, can be those guru photographers and the You Tube Stars, you no longer need to be in their workshop but the familiarity with the workspace and the tools is still down to us, the “modern apprentices”.
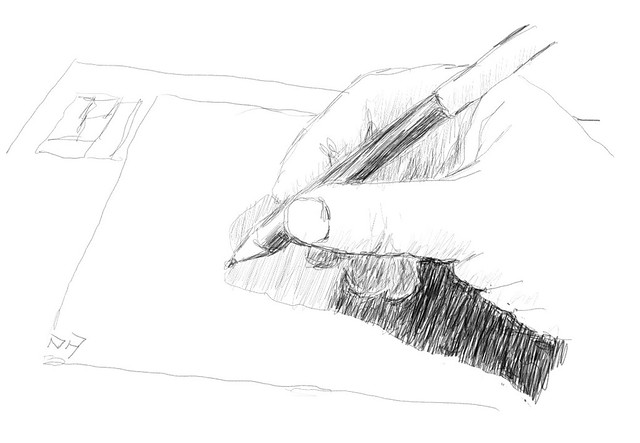
I’ve told you all this because I want to resume short blog posts about the work space in software and the key tools to use, so that you can understand the steps in the work flows you are taught but also have enough confidence to experiment and try something of your own. I happened upon the Mischief sketching software whilst looking at ways to prepare some composition/notan sketches. It was a it was a real relaxation, simple to use and powerful at the same time, no work flow required. There is a free version which is perfect to get started with, and is what I am using here, If you an make a mark with a pencil on paper you good to go.

The Mischief work space is a single screen and it normally starts in full screen mode. There is the normal windows style menus bar with drop down menu items that run all the programs function.  The more commonly used are also shown in a vertical tool bar (normally over on the right). One very unique aspect of this work surface is the “canvas” you work on is that it is truly infinitely. You can scroll off the edge of the screen or zoom out to reveal more canvas. This an incredibly liberating feature. Start by drawing something that runs off the page, pan across a bit and keep drawing. The last two icons are for the the undo (another feature without a limit) and redo. All the tools and functions have keyboard short cuts, if you prefer those (look under help).
The next important set of tools are found in the brush panel (normally down on the lower left). The free version only has three brushes (aka pens) and  they only have simple controls on size and opacity but this has been cleverly used to create a faint lines (pencil) for rough sketching a solid line (ink pen) and a thicker chisel style semi transparent line (Marker pen) These three pen will give you a decent sketching experience. probably the thing you will want to change most is the pen size, which uses the [ and ] brackets (for thinner & thinker) r the little slider pull out by clicking on the second bottom tab. the opacity can also be controlled by the number keys (again see the shortcut keys under the help menu.
The final on screen panel is the colour picker, normally on the upper left. Compared with many other packages this is a very simple format, but it does allow select for Colour (the slider under the colour square, Tone, the vertical position and Intensity,  the horizontal position on the colour square. Unlike the paid version, the free version doesn’t have the ability to save your own swatch of colour, but size the canvas can be of infinite size you can place a small swtach of colours directly on just visible edge of the canvas, then return to that with the eyedropper to pick one of the few colours you have selected. So for simple composition sketch with 5 grey tone I have just used an approx 25% grey 50% grey, 75% grey & Black, using the white of the canvas as my 5th tone. You can either erase this later or just pan so that it is not displayed on the screen when you export a picture.
A really unique feature of this program (I haven’t seen another implement such a simple idea) is the ability to change the canvas opacity. This basically changes the canvas into tracing paper.  By putting a suitable photo full screen and loading mischief over the top of it and either using the Window> Activate Window Opacity function from the menu or just use the slider on the side of the vertical tool bar. Moving the slider closer to 0% makes the canvas more translucent. You can trace lines of colour in the basic tonal shapes.
You really either need a Wacom style tablet of a touch screen with a pen, to get the natural feel of drawing. I have used it with the touch screen on my HP spectre and the touch mode on my old Bamboo tablet, but It is definitely wasn’t as good and trying to use the mouse is a little too fiddly. If you haven’t ever draw3 on a computer screen before the free version of the program is worth a trial. I’m already moving onto the Pro version (mainly to get layers & pins, more about those later hopefully. In the meantime never be afraid to experiment with your own “working methods” and occasionally just have a good “play”.


 However because the kit is nice and small, I’ve been trying it out as a way to prepare composition/notan sketches for my pathway project. My intention is to make quick composition sketches and possibly a few alternatives that incorporate the tonal balance BEFORE I take any photos. So I am thinking/seeing more like a “plein air” painter preparing a new canvas. The charcoal is quick and gives a strong contrast but it smudges easily, the compressed graphite is good but delivers a very pencil draw tonal range (its hard to get the deep darks). The woodless pencils seemed ideal, I have two hardnesses HB and 4B. They gave me the fast loose sketching of the main shapes and a decent spread from light to dark.



 For
For