Showing posts with label light meter. Show all posts

Friday, November 04, 2016

Using your Shadow as a “free” Light Meter

I was sure I had written about this before, but can not find the post at the moment. However I “discovered” this handy trick a long time ago. If you have a digital camera or camera phone and can see what you last photographed and it's a sunny enough day that you cast a shadow, you have a “free” Light meter. I know your camera probably already has a good one built-in, that seldom fails, but it is a nice way to check it is not being fooled by the light or malfunctioning. Alternatively, you might just prefer to shot in Manual.
Under Exposed Well Exposed Over Exposed
Just turn you back to the sun and point your camera down at your shadow. it helps if there is some texture on the ground both in and outside the shadow. Take a picture and look at the texture. If the texture in the shadow is really hard to decipher you’ve underexposed. If The texture inside the shadow is fine but the part out in the sun is bleached out and hard to decipher your overexposed. When the detail can easily be seen in both the shadows area and sun-lit areas you will have the correct exposure and  anything you photograph in the foreground of a photo will be well exposed. Providing you are not looking straight into the sun or have your camera angled up above the horizon (ie you have mostly sky)
So what to do?
Underexposed (left hand photo) needs more light on your subject so you could use the aperture ring (if you have one) to add one extra stop of light. This will double the light being sent to the sensor. The traditional f-stops are however not linear (for example f11 to f8 is considered one stop). Alternatively you can use The EV (Exposure Value) setting that most digital cameras and even smart phone camera apps now include. These normally are indicated by a small square with a diagonal split and + and – against dark and light shades. In the case of the underexposed you want to add to the EV value either select +1 EV or move the EV slider to the right (a higher positive value). The final option is you can change the shutter speed, let it stay open for longer. This is a bit easier to remember since changing from a speed of 1/120th second to 1/60th will double the light reaching the sensor during the exposure.
Overexposed (right hand photo) is just the reverse you need less light during the exposure, Shutting down the aperture (moving to a higher f-stop number) or using a negative Ev (eg –1 EV) or taking a faster shutter speed.

On a sunny day the reflections on a LCD screen can make it very hard to read, for example judging colour and tone. So this is why it is a good idea to include some strong texture. Even though there may be a strong reflection on the screen you should be able to still make out the relative texture in the shadow or sunny parts of your image.

Tuesday, July 08, 2014

Extending Dynamic Range …with & without RAW

2014-07-03

T


his image of a shady spot on a sunny day is the classic example of the scene that challenges the range of light intensities that can be recorded by a camera’s sensory. If you rely on your camera light meter to get the right exposure and point at the shadows and trees the sky becomes blown out, or point mainly at the sky and the shadow detail disappear into the dark gloom. That range of light is often referent to as the camera’s dynamic range. Digital sensors are improving but they still have trouble capturing the range that traditional film could and this is much less than the human eye can handle. so very often such scene will seem very flat or less rich than you remember them. So I have taken a wide set (large EV variation) of bracketed exposures in both raw and jpeg and will run through a number of ways I have found (they are not my discoveries however) to extend the “apparent” Dynamic Range of the scene, which I will post over the coming week and add links to them back here in this article.

My objective being simply to better represent how I remember seeing the scene.

Using Jpeg

Using RAW


This Cambridge in Colour article on Dynamic Range is a very good introduction.

In retrospect, I realise that post this series, doing one step at a time in a blog format puts the posts in reverse order (I’ll do it the other way around in the future, but you can just use the links about as a table of contents to follow my progress). Special thanks also to Jessica Hische for the wonderful Drop Caps I’ve used in this series

Thursday, November 23, 2006

Dark subjects

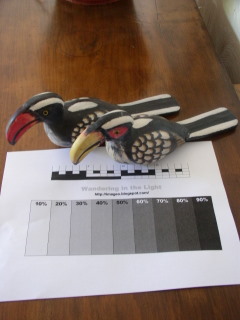
From past experience I know that taking a good photo of dark subjects can be difficult, with modern automatic digital cameras. The technical explanation is to do with the cameras automatic light meter, it is trying to average the exposure over the image to match an average grey. However some subjects, such as rocks, dark skins and even low level light are just a much darker overall tone. The result is, the camera will choose a setting that tends to over exposed the photo, because the camera is actually trying to lighten this darker tone by taking a longer exposure This gives the resulting photo a flat look (and gerenally a lot of detail will be lost)


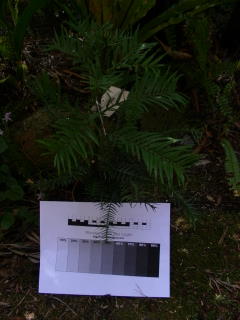
Most modern digital cameras have a system whereby you can easily adjust exposure, often this is called EV (exposure value). This combined with a simple reference sheet you can download and printout (click on the link and it should take you to google docs and let you print it or download a web document). Place the reference sheet beside your image and take a series of photos


My camera has a bracketing setting BKT, which lets you take a number of shoots with progressively adjusted EV settings by just holding the button down. Many digital cameras have controls to toggle adjustment (it may not be referred to as EV) that allow you to do the same task

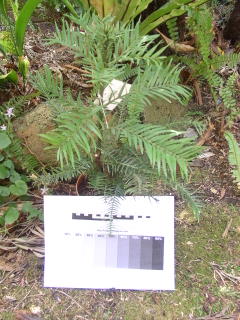
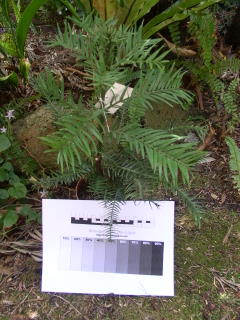
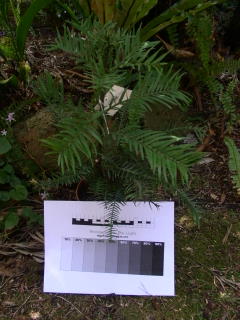
+1.0EV {BEST}+0.5EVAutomatic Selected Exposure-0.5EV-1.0EV

+1.0 EV

+0.5 EV

0.0 EV

-0.5EV

-1.0EV


+1.0EV+0.5EV {BEST}Automatic Selected Exposure-0.5EV-1.0EV


Either look at the images in your LCD screen or better still download them and have a look on a larger screen. The photo that best exposed the reference card could well not be the exposure your camera light meter has selected


Studio portrait photographers have a similar ""secret". They often have a test card that is 18% greytone. When it is “just” perceptibly different to white on a test shot the exposure is considered right. They may still fiddle elaboratly with a hand held light meter, but maybe this is just to take more time so they can charge you more. On my reference card this would correspond to the 10% grey looking white and the 20% the first distinct light grey. In both my example sequences above I will benefit from putting a positive EV correction.

Finally remember the reference card is light and will influence the light meter if it takes up a lot of the image space, so you may like to consider making a smaller single (either 18% or 20%) greytone card of final calibrations for important photos