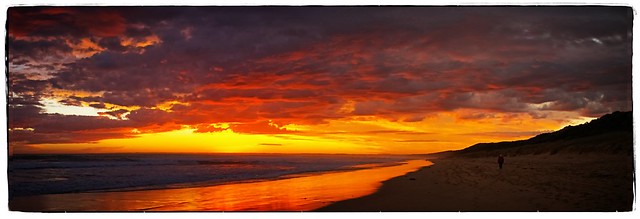
The ability to adjust a specific hue is great and the HSL slider also gives you the ability to adjust Saturation and Luminosity but when they are used together there are some complications.
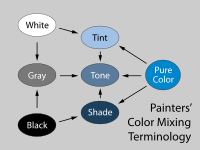
To understand this better we should first look at the way artist use and name their their colour mixes. When you add White to a colour it is called a TINT and stays in the same hue (family) but it looks paler and lighter. Paler and Lighter means the saturation of the colour is lower and the luminosity (brightness) is higher. When you add Black to a colour the result is called a SHADE and the reverse happens. The colour gets duller and darker, which is again lower saturation and also its luminosity is lower.
Artist also often use the term TONE when they mix in a Neutral Grey. This should not be confused with Tonal Values meaning when talking about relative exposure (particularly in Black & White images). In Photography the alteration of the RGB colours are only lightened (adding luminance or sometimes reducing saturation) or darkened (either reducing Luminance and saturation) so the best way is just to think in terms of Tint or Shade.Many artist never add black when painting (and I’m one of those) because even a tiny amount or black pigment “kills” the colour mix. So they may use a dark neutral (like Payne’s Grey) or better still mix their own dark neutrals with complimentary colours.
To get a feel for how much colour and colour judgment is actually related to luminosity (through tints and shades) a great experiment is to take saturation down fully (-100 in Lightroom so you essentially have a black and white image, but there are many other ways to get black and white but not for this exercise) next adjust the tonal values in the normal manner you undertake. This could be contrast & brightness, or separate shadows and highlight sliders etc. Finally restore the saturation back to its original setting (in Lightroom set it back to zero).


You probably will be surprised, your colours are likely to be richer and more balanced! Try it yourself,