


These where powerful panoramas but not so creative so I decided to make a David Hockney Joiner style collage using 22 of the photos, as my daily photo.
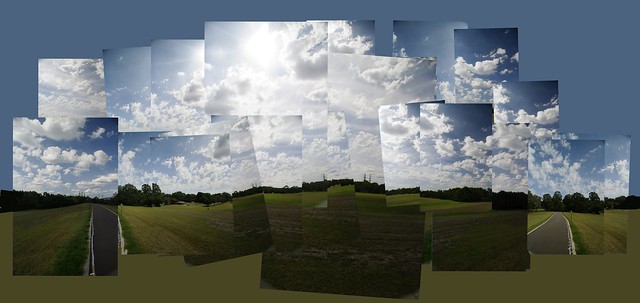
These where powerful panoramas but not so creative so I decided to make a David Hockney Joiner style collage using 22 of the photos, as my daily photo.
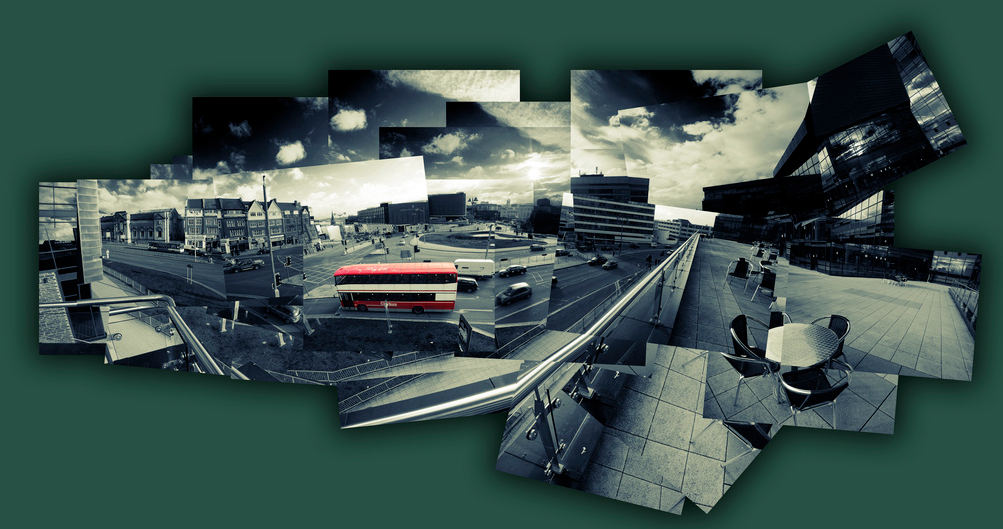 Whilst photo collages have been around a long time its is the joiners developed by David Hockney that can bring a rich artistic feel of personality and being an original work. His original joiners where just polaroid images (lots of them) assembled and stuck down to make a larger image. Not necessarily taken from the same vantage and often deliberately not quiet matching. I have found the collage maker in picasa is an idea place to build similar joiner style collages. However there is plenty of software out their to do a similar job (Hockneyizer is a wonderful “filter” style app,originally for flickr photos but you can upload any photo to it directly, that will take a single image and break it into a hockney style collage)
 In picasa you just need to select the photos you want and the select the collage builder tool (either the Create/Picture Collage menu item or collage button if you have one on the bottom toolbar). The first step is to select the picture pile format which is as if you are just scattering the photos on your desktop. under that is a series of border templates (the collage above has the polaroid frames, in homage to Hockney but they are not what I wanted for the final image. I prefer borderless option.) However I like to using a drop shadow which emphasis (rather than hides) the join between photos. The next step is to move around and possible resize and reoriented to photos. When you select a given image a control circle if overlayed on the photo click on in and moving your mouse slides the photo over the surface. You can resize the photo with the mouse wheel (or clicking on the orange dot on the little control button on the edge of the circular tool and moving it in and out (horizontally). To rotate the image again click on the orange dot and now move the mouse vertically and you will see the image rotate. the controls are very easy to master and you will soon be able to rotate and resize at the same time.
 One of the bigger charms of Hockney’s later joiner work is that he did not try to fill the whole space and left ragged edges and some gaps but he did take time to judge a suitable background colour, something that could bring the whole together. I like this approach and so I used the eye dropper tool to select the dark blue of the sky as my background, Then a bit more rescale and realignment of all the photos together (press select all at the top of the workspace and all the photos will be outlined and can be reoriented and scaled as one). You must then hit the create collage button, which creates the composite image and puts them in a separate album called collages. You can then work on this as any other photo in picasa so I did a fraction more cropping. The advantage of the picasa’s tool is you can return and re-edit the original collages in the collage album at any time.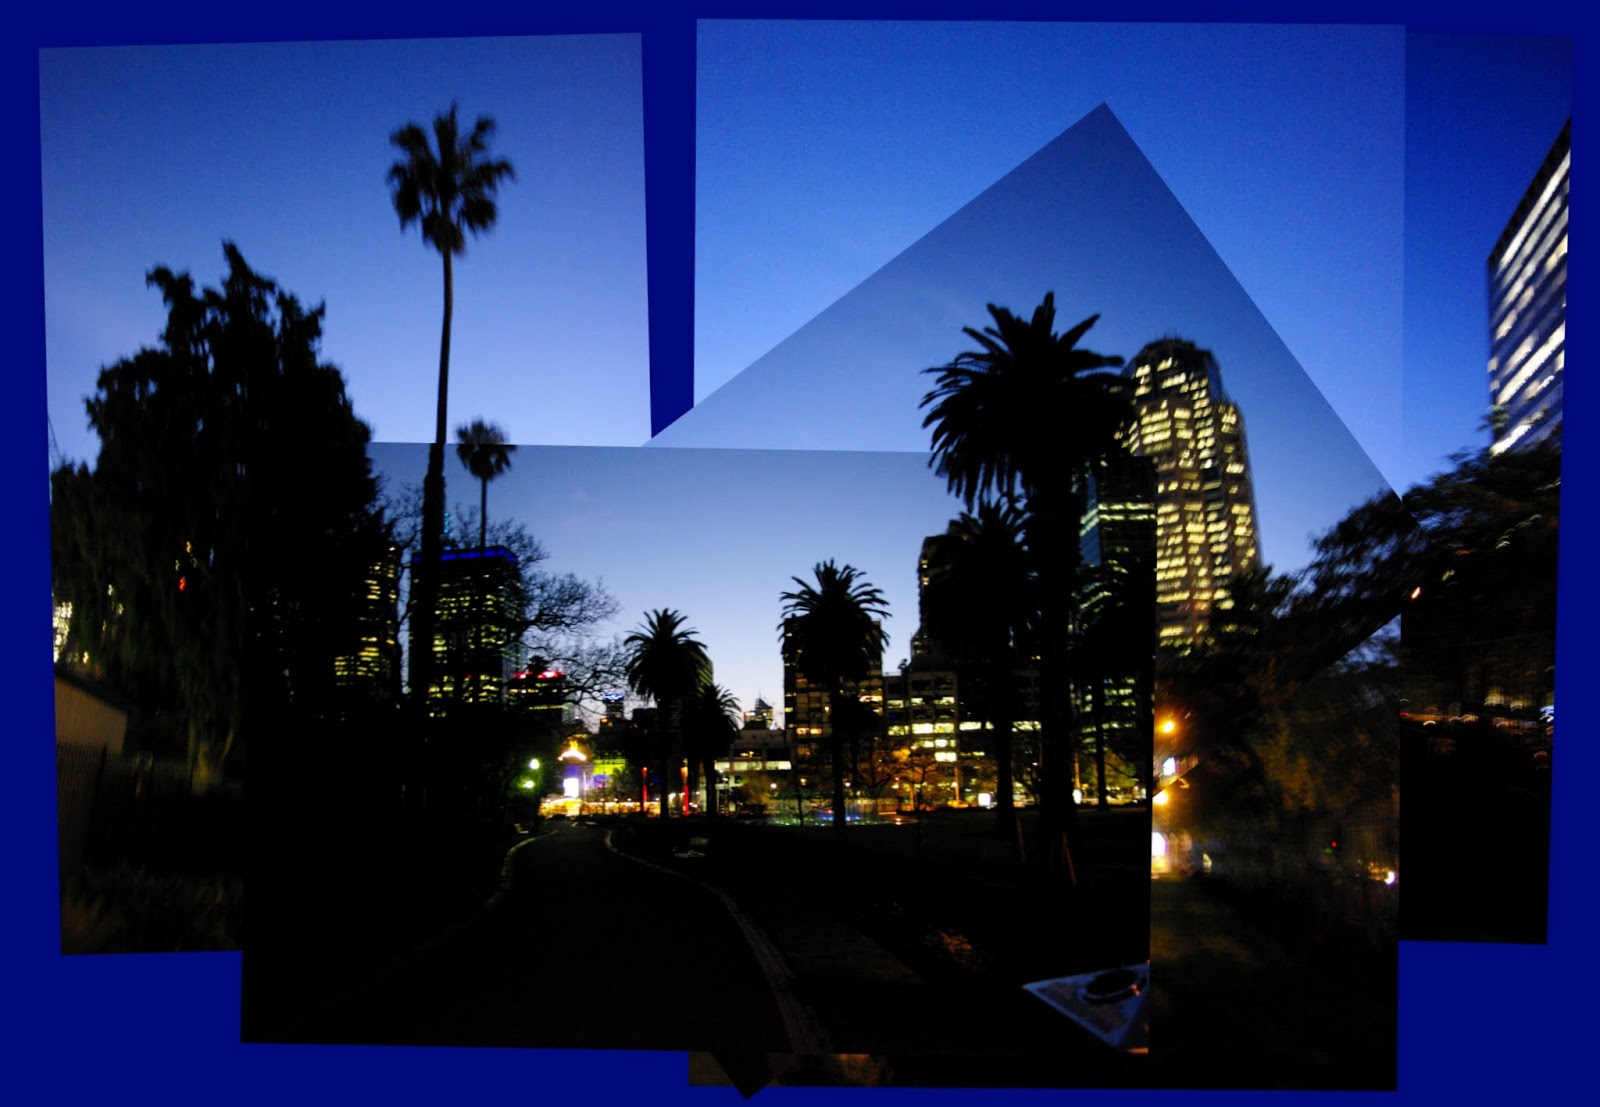
 Joiner style collage of the shadows under the canopy,
  I was fascinated with the contorted shapes of the branches of some of the mature trees along the coastal walk (the promenade at Point Lonsdale) and felt they could make an interesting series of paintings. I carry a very small sketch book (A7 sized) in my camera bag (and in fact did a few scribbles as I had a coffee over he road). A digital camera can be a vey hand thing for an artist. However I like to use mine as a sketch book taking down important details giving and overall view, I shot many photos that may never see lightroom and printing, they are more an aide-mémoire. I also like to capture at least a couple of bracketed sets to be able some additional tonal investigation when I have a chance.


I was out doing a bit of scouting looking for architectural features for this week patch theme and was sniffing around the Harry Seidler designed council offices. Like a lot of buildings it is now surrounded and towered over by less interesting buildings and you have walk around it and glimpse bits here and there to appreciate the whole. A situation that is hard to present in one phone, but a composite collage can begin to layout and unwrap the design.

After boldly claiming this might be the year of the photo book I have resolved to create several this year and write a bit about my experiences along the way. One of the books I would like to create is something like “A Year in Jells Park” (which is almost just on my doorstep, ok a short walk). Jells Park is vast and I’m sure there will be a lot to photograph and discuss. Already some of the post in the blog are fodder for the book. This evening I went to photograph the water birds down on the lake. on the way I liked the lighting across the lake but without a wide angle lens, I did my usually trick of taking a set of overlapping images, no tripod or fancy panorama head just hand held (like I always do). I then just sent the jpegs straight out of the camera into Autostitch to see what it looked like (well via Picasa)
I hadn’t tried to balance the exposure (of the sky and lake) across the set and autostitch returns ragged edges because my hand held overlap was pretty approximate. Yet it does give a wonderful view that is hard to capture without special lens (and cameras). I will certainly tweak this view further, when I have a little more time, perhaps even for a double page spread in a photobook! Ok lets not get ahead of ourselves here!
While I had all the images on my phototray in picasa I selected the collage tool to create a david hockney style joiner. I’ve set up one of the configurable buttons in the print/share area of the phototray. If you haven’t set up this key look under Create/Picture collage… item on the main menu. I then selected the Picture Pile under options. I set the without borders, and solid background colour which I selected with the eye dropper as part of the sky’s middle tone blue. I also click on the drop shadows to just highlight the photos edges a little. I then slide the photos around with the mouse to almost, but not quiet, have the photos overlap. Again clearly the photos don’t quiet match in tone and exposure but I think that just adds to the charm and realisation that this is a big vista.
 I was looking for some city photos for this week photofriday challenge and came across a set I had taken of the shot tower in Melbourne Central. The original intent was to create a large autostitched version from three series photos, 46 in all, taken from slightly different views. I did create two stitched panoramas, shown below. However they were not really conveying the feeling of the vast space and dome above.
  I have always liked photo collage and montage. I still have several I made in the Late 60’s and early 70s from my own prints with scissors and glue. Getting things to match was harder than you might think, so often I didn’t bother and the fragmented results where often more striking than the individual photos. This collage above was created in picasa’s wonderfully simple yet very useful picture collage tool. Its under Create/Picture Collage… on the main menu or you can set up a button on picasa’s task bar on the bottom of the screen (Tools/Configure Buttons…). There are a number of collage styles to choose and in this case I am using the picture pile, which lets you overlap the photos, with or without borders like a pile of photos on the desk. You can resize and rotate the individual photos and more them forward and back in the stack.I have also used the colour picker and selected a neutral colour from within the photos as my background. I have also set drao shadow on, the accentuate the overlapping natures of the images. I am really following the basic “joiners” technique of David Hockney, but instead of using polaroid photos I’m using the computer and picasa collage. The cubists had demonstrated in paint that you could break conventional perspective and photographic realism to combine the subject more convincingly way in space and time, in particular their fragmented assemblage of the detail as tiles are also my inspiration here, to open up the dome above, unlike the fish eye effect any wide angle camera view would create, which crowds in and compresses the aspect.


 Moreton Bay Figs [Ficus macrophylla] can grow into massive trees, and it is quiet difficult in a single photo to convey that all embracing size, especially when you are enjoying the dappled shade well underneath the tree’s embrace. My simple solution is to take lots fo images. These two starkly different collages where prepared from the same series of photos, which followed up the mighty branches to the patterns in the foliage above me.
Multiple images made in to a David Hockney style “joiner” photocollage, using the photo pile feature collage in picasa.


