Showing posts with label #ExhibitionPrepation. Show all posts

Sunday, June 10, 2018

Choosing Matte & Frame

Without realised it you can end up spending a lot of money framing a photo, especially if it is considered a “custom” framing. Frames that are made to measure can easily escalated  to well over the AUD$150 mark for the 16” by 20” size being considered.

There are three key decisions to make.

  1. Matte (Type & colour)
  2. Frame (Several Materials/Styles)
  3. Glass (or Plexi-glass Perspex)

Whilst these decisions can in practise be made independently, on the different components of the frame. It is usually best to combined and made at the time you order the frame.

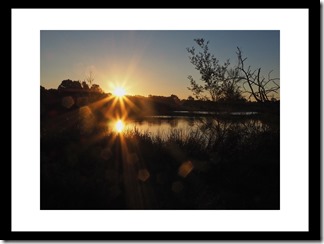
imageA good matte makes a lot of difference to the look of a photo when framed. You also need to allow for a decent margin for the matte around the photo. The general advice for a 16” by 20” size would be a minimum of 3” on each side of the narrowest margins. Also it is common practice to make the bottom border slightly wider (see the embeded video at around 1:25:00 for an explanation) that the top margin. However there are no hard and fast rules for width and fashions change. The mattes should be cut from archive quality boards, which means either acid free. The mattes should also be cut to cover part of the photo being framed (a good reason to leave a small 1cm white margin around your image when getting it printed.

The glass or plexi-glass for the frame must be cut to match the internal dimension of the frame picture housing(the rabbet)  for frames up to the size we are considering and perhaps a little larger glass is the usual obvious choice. However larger frames can become very heavy and plexiglass is a better alternative here as it is considerably lighter

Finally A good way to save cost of framing is to buy premade frames. Unfortunately the quality varies so it is important to look and feel them rather than order of the internet. A lot but your local framing shop is likely to have a range of the basic sizes in the more popular styles (simple black style wood frame with glass is likely to cost between $40-$90 for the desired 16” by 20”. If you are preparing a larger exhibition it is worth asking for a discount and buy a “Job Lot” (10 to 12 frames). It worked for me.


Cutting mattes & making your own frames takes considerable practise, skill and the right equipment. It will be expensive and probably unsuccessful on the first few attempts (eg don’t get enthusiastic and buy lots of tools and expensive mouldings for that one print for an exhibition) but can be a rewarding additional hobby that will save you a lot on framing costs over time. The B&H video on matting and mounting (embedded above) is long and given by a product rep but is full of sound advice (Including the secrets to cutting a double mattes (1:29:25 in the video).

Saturday, June 09, 2018

Getting your Exhibition Photo printed at a commercial service

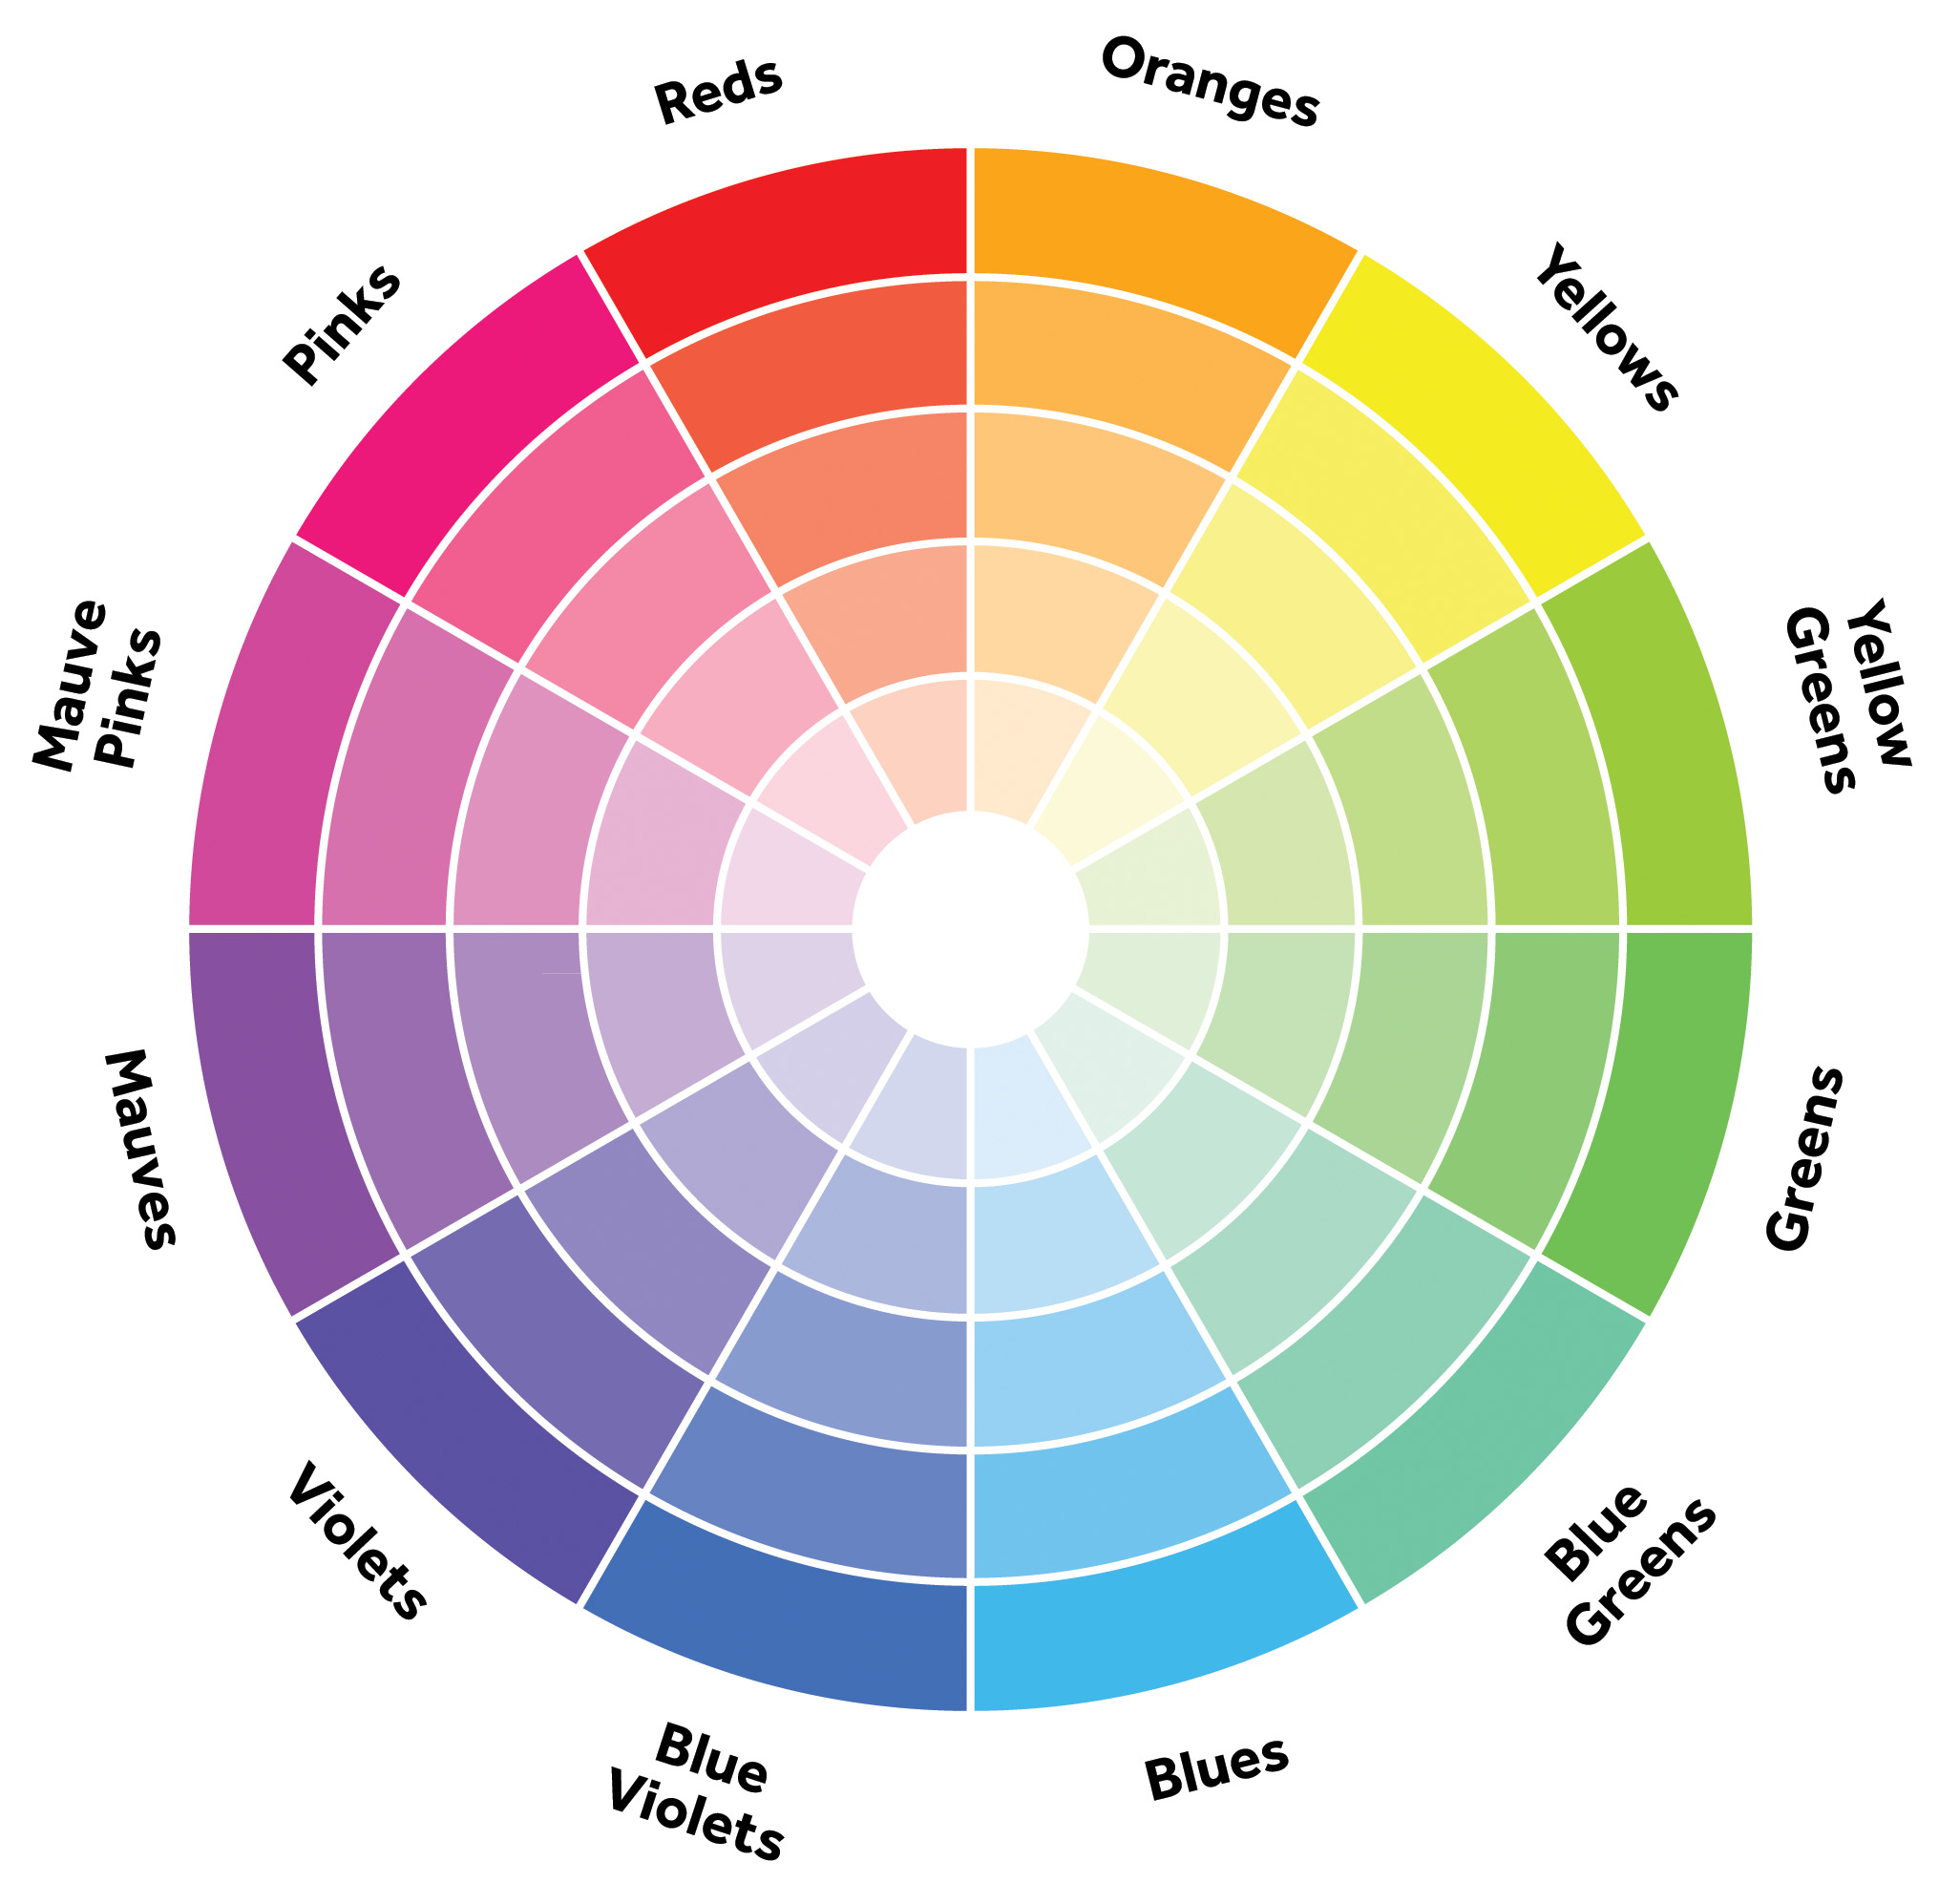
The next big decision to make when Exhibiting your photo(s), is where to get them printed. I’m going tp assume you haven’t got a lot of experience print your own photo and intend to use a local commercial service. If you don’t get prints made regularly I strongly suggest to get some trial prints made first, probably on 4 by 6” size, which you should get for around 15c each (or less). You can take a picture of a colour swatch or artist colour wheel (or download the one here)and get that printed as well, this will help compare your screen colours & contrast to your test print(s).
Most places that offer photo printing can handle either SD cards of USB keys, and it is better to just have the images you want printed on them so as to avoid having to sort through many and run the risk of accidentally printing the wrong photos (and then blame the store!). Some store (eg Teds, Harvey Norman, Snapfish & Kmart) let you upload photo on-line with in-stores pickups if you set up a free account with their service.

I’ve researched the likely price of common photo processing, at place like Office Works (which don’t always get goodreviews), Big W, KMART, Snapfish, Ted’s, Harvey Norman on standard glossy or matte papers (in the Melbourne area). Printing at “professional labs” and on specialist paper will definitely cost more., especially if those labs mainly carter for wedding photographers.

Size

~cm

Price

8x10"

20x25

$2-4

8x12"

20x30

$4-7

A4

21x29

$5-10

11x14"

28x35

$12-15

A3

29x42

(?)

12x16"

30x40cm

$15-$20

You can see the price skyrockets as the prints get larger. Further getting non-standard sizes can also significantly increase the price. It is often better to get a larger size printed and leave white margins (and remember to tick don’t expand to fill), then use the matte to cover the margin.

Colour matching is a very complex process but if you stick with the sRGB colour space you should be fine. This is normally the default for your camera and most photo editing software (but it can be changed by presets in the software you use, so check) and don’t tick boxes like “lets us enhance your image”.

So set sRGB and post process/refine your image before you take it to the printers and you should be pleased with the result.

.

Friday, June 08, 2018

The Resolution Myths (PPI/DPI)

Getting a photo printed framed and displayed in an exhibition is very rewarding;  but there is one misconception that seems to pervade the on-line world. The suggestion that the resolution of a photo (in dpi) is crucial. Setting pixels per inch (or dots per inch) will very likely be Ignored when you order any external print, of a given size so don’t worry about it.

It was once a useful measure when number of pixels in an image where smaller and older dot matrix printers (hence dpi dots per inch), or computer screens of lower resolution (more correctly PPI pixel per inch). Now most cameras capture way more pixels than needed and clever software in the printer drivers combine the pixel luminance and colour to given a smooth not jaggy (not pixelated) surface that match the printers capabilities. Don’t make the mistake of resizing your photos to smaller number of pixels wide and high.

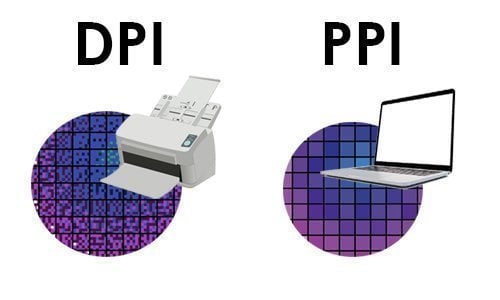
DPI relates to Printers resolution PPI refers to screen resolutionThe numbers are useful in estimating minimum pixel required for various size prints. At normal viewing distance (closer than arm’s length) a person cannot resolve individual dots or pixel when the resolution is between 240ppi (normal vision) to 300ppi (extremely good vision that can focus up close to the print). So these numbers are often used by graphic artist and printer manufactures to set the minimum size of an image in pixels when they know the output size required. Most printers are capable of much higher PPI densities.
Thus always give the printer the original resolution and ignore the dpi or ppi resolution setting. The software rendering your image to the printer will take care of that and give you the best possible print. If you are having the photo processed at a commercial service it will normally warn you if the image size in pixels is not sufficient to get a good print.

Just to confuse you further many older photo editors insist that you set dpi (200 or even 120 will work) before you can print, but it is probably time to update that program. Also many word processors and desktop publishers will actually do the resize to fit the size of the output (as a space saving measure). If you want to use those programs just use 200 dpi.

The following table given the minimum and preferred output size for given pixel densities.


Minimum

Preferred

6"

600+

1200+

A4(29cm)

900+

1600+

14"

1000+

2000+

A3(42cm)

1200+

2000+

This table is just based on the maximum dimension of the photo.

The minimum number of pixels is surprising low, lower than you might have guessed after looking at photo and particularly gear reviews on the net but they are real, and most cameras are capable of much larger images.

Thursday, June 07, 2018

Size Matters

Exhibiting your photos can be a really rewarding experience, and why not start locally such as at Local Camera Clubs, Local Councils and Schools (often as fund raisers) often run such exhibitions (usually with a reasonably small submission fee). If you haven’t created pictures for an exhibition before, here are few hints and guidelines to help your decision process.


1. Viewing distance
Galleries and conference centres often put a lot of work into this issue and it is in fact a complex issue depending mainly on a comfortable viewing distance, the viewer’s eyesight and the type of illumination. The crispness, sharpness of the images seldom even gets a look in key decisions. In most cases you will have no control over illumination but can assume it will be ok. The next issue is how the viewers is expected to see a lot of detail, a normal view or find the maximum distance before it is hard to appreciate the image. There are several complex theories and calculations, but there is also a decent rule of thumb that assumes the viewer has between 20/20 & 20/40 vision. It is called the “4:6:8” rule, and related the ratio of viewing distance to the height of the photo.
PhotoFunia-1528438916Galleries also know that the comfortable viewing distance adopted naturally by most viewers is 1.5 to 2m. They sometime move closer for a detailed look but this is the “normal” walk past position. Thus the vertical height 10” (25cm) to 14” (35cm) will give the best comfortable viewing distance to attract most of your viewers.  This is the size of the actual image not the matte & frame.
This viewing rule of thumb works well for your home as well, for example if you want a print to wow visitors across your 3m entry hall you should consider a print that is at least 38 cm (~15”) tall, which is 3000/8, to be appreciated. If you have put a lot of effort into the crispness to should consider 50cm (~20”) tall which is 3000/6. If they need to really see the detail they can walk across the hall and take a closer look. But you will have grabbed their attention by now and when your print is the right size they probably will want to take that closer look.
This is very much focused on the vertical distance, because most viewers will be standing not lying down. The horizontal width is also important and depends on the orientation (ie Portrait or Landscape). Thus 8” by 12” might be fine (A4 is close but a little smaller) for a portrait orientation but an 11” by 14” would be desirable for a landscape (A3 is a little larger but lends itself to allow more cropping options at the matting stage).
Assuming your are matting your photo (and well matted photos do look good, so why wouldn’t you) you need to allow for a decent margin for the matte around the photo, when selecting the final framing size. The general advice for a 16” by 20” size,  which is a very popular size for exhibition photos, should have a minimum of 3” on each side of the narrowest margins. (eg Portrait mode probably shouldn’t be wider than 12” horizontally & Landscape mode shouldn’t be wider than 14” horizontally). It is also common to have the matting with a photo slightly higher than midpoint vertically. This especially applies to longer thinner panoramas.


2. Aspect Ratio
The aspect ratio of most cameras (so called APC crop sensor and Full Frame sensors) follows the same aspect ratio as 35mm film which is 1 to 1.5 (often described as 2 to 3) BUT most common photographic print sizes are not in this ratio. The Micro Four Thirds camera have a sensor ratio of 3 to 4 and this is a little closer to common print aspects/print sizes.

P6050091          P6050113
However it is very likely that any image will need to be cropped (have some part trimmed off). It is best if you predetermine the size you want printed and get your software to trim the image to that ratio before you take it to get printed. Most instore photo kiosk where you load your photos will provide cropping guidelines but this is normally on a tiny screen.
The next post will options when getting your photo printed at a local store or service.