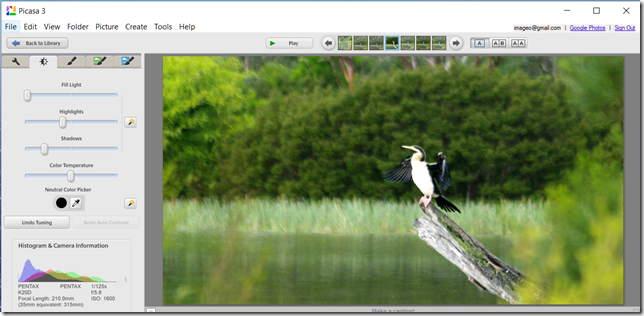
 First cab off the rank was Picasa, which I normal just use to upload my photos and allows me to quickly review and cull the photoset and perhaps rank the top photos. I tend not to use it to enhance my images, unless i really want something to post on the web or email straight away. It’s jpeg rendering is fine but google’s, “I feel luck approach” often makes the RAW files look dull and perhaps overexposed. I like more tonal range. Here I am editing the JPEG version and using the tuning tab but just clicking on the magic wand to let Picasa set the tonal sliders. I’ve also used the straighten and cropping tools.
 I have been using Aftershot Pro as my preferred first look at RAW files on my laptop and have a fairly standard approach of clicking on the perfectly clear filter, then tweaking the details slider and for this photo a little extra raw noise correction. In this case I have toned down the vegetation a little via the Colour Equalizer Plug-in to help highlight the darter. I’ve also used a desaturate vignette along with cropping & straightening.
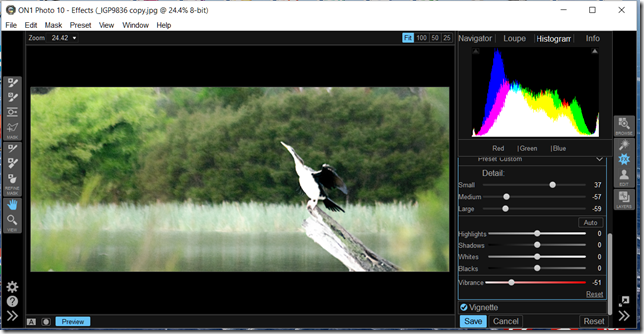
 The RAW photo I am processing with OnOne Photo 10 Suite doesn’t have the detail in the darter, which limits its success somewhat. However I used by very favourite Dynamic Contrast filter to manipulate the tones, opting to enhance the small scale contrast rather that larger scale (which help subdue the trees & reeds in the background) while backing off vibrance and lift the darter. I also used my very favourite vignette the Big Softy.
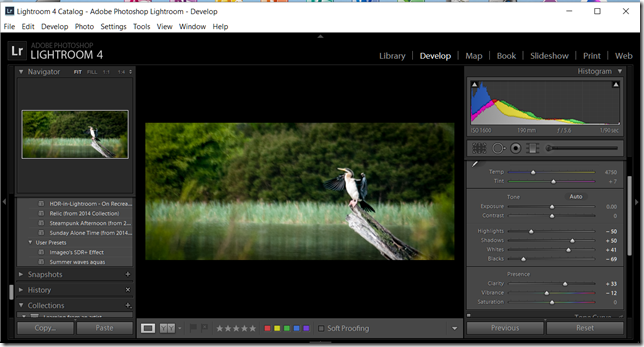
I ended up breaking my own rule here, using a SDR+ preset I made myself some time ago to stretch the dynamic range in a single RAW photo. To which I tweaked clarity (local tonal contrast) to the right and dropped down the vibrancy a little, Similar crop and straighten to the other photo and finished with a subtle post crop vignette.
The photos are different, not unlike using different media (oils vs acrylic) and have subtly different appeal. Despite the approach to post processing being largely similar. I think the exercise of doing this help become familiar with the tools and what can be achieve. It is a more creative approach than following a rigorous workflow within a single software package. Vive la difference.
No comments:
Post a Comment