Exposing to the right, isn’t magic and it not applicable everywhere. Its a relative simple method (“trick” is not the right word) to help capture more light and reduce the underlying signal to noise ratio issues in lower tonal ranges. Whilst it can be applied in jpeg format, with lesser success, it really needs photos to be taken in RAW format, which records more detail and give the capacity to adjust tones with suitable post processing software for the “finished” photo. It also helps to have a digital camera that can display a histogram (of the light illumination levels) on the back of the camera.
Just a word of warning there is a lot of rubbish written about exposing to the right that will come up early in google searches. If you read this post and try it out for yourself you will realise that it isn’t a hoax or a myth (they are just BS, Fake news)
The other requirement before you can exploit exposing to the right, is having an image with some “head room” in the histogram to increase the exposure without hitting the dreaded white clipping. Once your sensor fills with photons to its maximum, no extra detail can be captures. in 8-bit RGB terms you have reach 255 level in each colour channel. The histogram will be hard up against the right hand edge (see lower right of the examples below). If your camera has the settings you can turn on the feature to show this clipping. They are frequently displayed by blinking zones of colour usually referred to as the “blinkies”.
I took this series of photo on the way home, trying to beat a storm, the new growth on the oak trees looks photo worthy so I stopped for a quick shot. The sky was darkening and the trees largely in shadow so I got a typical result (photo above left) with what appeared to be an reasonably exposed sky and most of the foreground in deep shadow. Looking at the histogram the exposure is probably ok in terms of average illumination. There is very little bright light recorded on the right hand side of the histogram. The photo on the left is just not what the scene looked like, it appears darker than what I saw. This is the type of situation where exposing to the right can help achieve a better image.
In my series I am using the exposure compensation to try letting in more light, but if your are shooting on a DSLR you can use any combination of ISO, F-stop or Shutter speed. Just changing f-stop by one stop doubles the light, change to +1.0 EV achieves the same. I have taken +1 Ev (the middle photo above) and +2 EV (The photo on the right above). Immediately I can see that the +2 EV option is too much I am clipping the sky and no matter how much darkening I try to perform it will remain pure white. The histogram for the center photo looks better the histogram is just touching the upper edge but now a lot of the illumination has moved to the upper right, This is what exposing to the right is trying to do. The trouble is, the photo looks overexposed, particularly in the sky.
The important next step in the exposing to the right method is to post process (the center photo) to “pull back the tones”, particularly the whites & highlights, the sky in this case. I’m using lightroom and just the basic tonal sliders. I’ve moved the exposure slider back –1 (one stop), highlights most of all, white & shadows less and blacks hardly at all. I have moved all slider to the left, darkening the tones. Essentially I’m reversing the lightening step I deliberately took in the camera, when using the +EV compensation. Avoid pressing Auto (tone) here because it will take you photo back to essentially the same as your first exposure. Just experiment with the sliders and remember “less is more”, be gentle don’ try and over do it.
The result (shown below) better captures both the sky and the shadow detail, with the important side benefit of reducing noise in the dark tones and making the colours and mid tones a little clearer (without having to use the clarity of vibrance sliders). It is definitely closer to what I saw.
")
It is also worth looking at a bit of the detail

An insert from the original photo shows some noise in the shadows and flatness in the mid tone details.

Similar insert of the tonally adjusted Photo that was originally exposed to the right, showing less noise in the darks and also better detail in mid tones and slightly richer colours.
With RAW it is also possible to also lift the tonal range, (ie lighten the darks/shadows) of the original but this will only increase the obvious noise.
Exposing to the right can be a rewarding approach if your shoot in RAW, and have access to good software for post processing. Try it out next time you see a photo with the “head room” in your histogram to up the exposure (and collect more light).
 I was starting to relax about Windows 10 and got a late night HP Service center request that I needed to reboot my little HP spectre. The on/off setting had an update and restart message (I’ve seem plenty before it was a microsoft windows 10 update I thought. Ok restart and the expected cycles of updating percentage displayed on the screen in fits and starts and the don’t turn your computer off warning. Then a restart and similar update message BUT then a final message that the update could not be installed and it was undoing changes. Not the time of day to investigate so I did a shut down, more updating messages.
 In the light of day I restarted and went through the same cycle. I had to restarts twice and go through the updating and undoing changes charade two more time before I could finally log in. nothing seems wrong (ie I am back where I was. However trying to shut down I still see the Update and restart warning! Am I destined for an endless loop of annoyance?
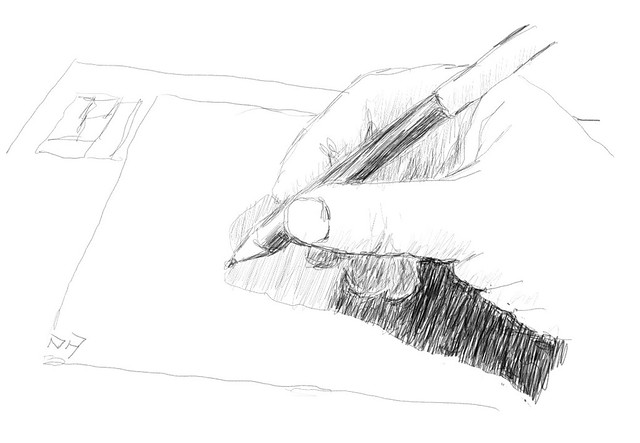
 However because the kit is nice and small, I’ve been trying it out as a way to prepare composition/notan sketches for my pathway project. My intention is to make quick composition sketches and possibly a few alternatives that incorporate the tonal balance BEFORE I take any photos. So I am thinking/seeing more like a “plein air” painter preparing a new canvas. The charcoal is quick and gives a strong contrast but it smudges easily, the compressed graphite is good but delivers a very pencil draw tonal range (its hard to get the deep darks). The woodless pencils seemed ideal, I have two hardnesses HB and 4B. They gave me the fast loose sketching of the main shapes and a decent spread from light to dark.