Well what about tagging your own collection. If you have google earth it is much easier than you might imagine. No GPS required!

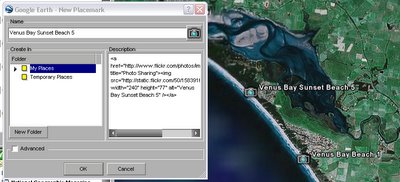
The first step is to run google earth (if you don’t have it you can download it for free, but you will need a broadband connection to let it work well). Zoom into the area that you took the photo. You will probably be amazed at how accurately you will be able to find the location of your photo (even on the satellite mosaic only areas, such as Venus Bay). Then click on the little place marker icon (it’s a map pin) on the control bar at the bottom and select the placemaker item at the top of the popup list (you can use <crtl> N if you like keyboard short cuts)
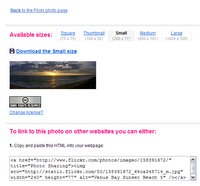
 This brings up the placemarker dialogue box. While it is open you can as accurately as possible move the place marker over google earth to position it was accurately as possible. The last step is to past a link to your photo into the comments. In this case I’m using Flickr, but you can use any online photo album that lets you use links, like photobucket . So I click on the small show all sizes icon above my photo and then I select the small size (I find this is a good size to display in google earth). I ten cut and paste the HTML link back into the google earth dialogue area. Click Ok and that is it!
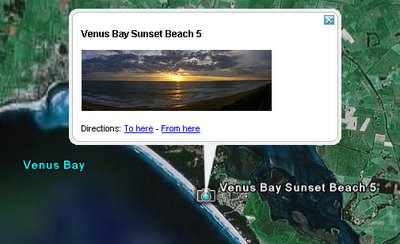
Clicking on this new icon, shows the image, clicking on the image opens a window below the control bar and takes you to the full image in flickr. You can email the placemark and links and/or the image to friends (they need google earth to view it, but the can easily also download it). Have fun!
No comments:
Post a Comment