From past experience I know that taking a good photo of dark subjects can be difficult, with modern automatic digital cameras. The technical explanation is to do with the cameras automatic light meter, it is trying to average the exposure over the image to match an average grey. However some subjects, such as rocks, dark skins and even low level light are just a much darker overall tone. The result is, the camera will choose a setting that tends to over exposed the photo, because the camera is actually trying to lighten this darker tone by taking a longer exposure This gives the resulting photo a flat look (and gerenally a lot of detail will be lost)
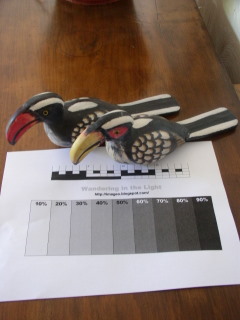
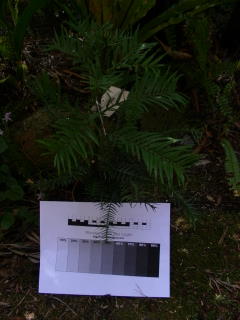
Most modern digital cameras have a system whereby you can easily adjust exposure, often this is called EV (exposure value). This combined with a simple reference sheet you can download and printout (click on the link and it should take you to google docs and let you print it or download a web document). Place the reference sheet beside your image and take a series of photos
My camera has a bracketing setting BKT, which lets you take a number of shoots with progressively adjusted EV settings by just holding the button down. Many digital cameras have controls to toggle adjustment (it may not be referred to as EV) that allow you to do the same task


| +1.0 EV | +0.5 EV | 0.0 EV | -0.5EV | -1.0EV |

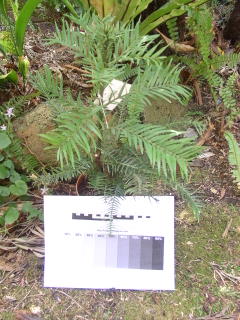
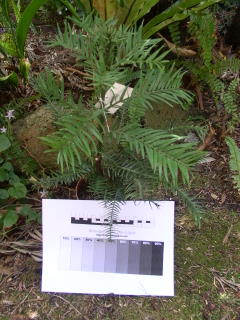
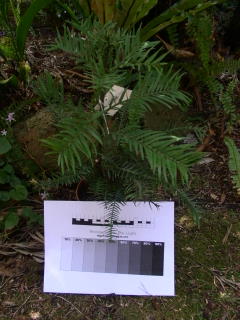
Either look at the images in your LCD screen or better still download them and have a look on a larger screen. The photo that best exposed the reference card could well not be the exposure your camera light meter has selected
Studio portrait photographers have a similar ""secret". They often have a test card that is 18% greytone. When it is “just” perceptibly different to white on a test shot the exposure is considered right. They may still fiddle elaboratly with a hand held light meter, but maybe this is just to take more time so they can charge you more. On my reference card this would correspond to the 10% grey looking white and the 20% the first distinct light grey. In both my example sequences above I will benefit from putting a positive EV correction.
Finally remember the reference card is light and will influence the light meter if it takes up a lot of the image space, so you may like to consider making a smaller single (either 18% or 20%) greytone card of final calibrations for important photos
No comments:
Post a Comment